

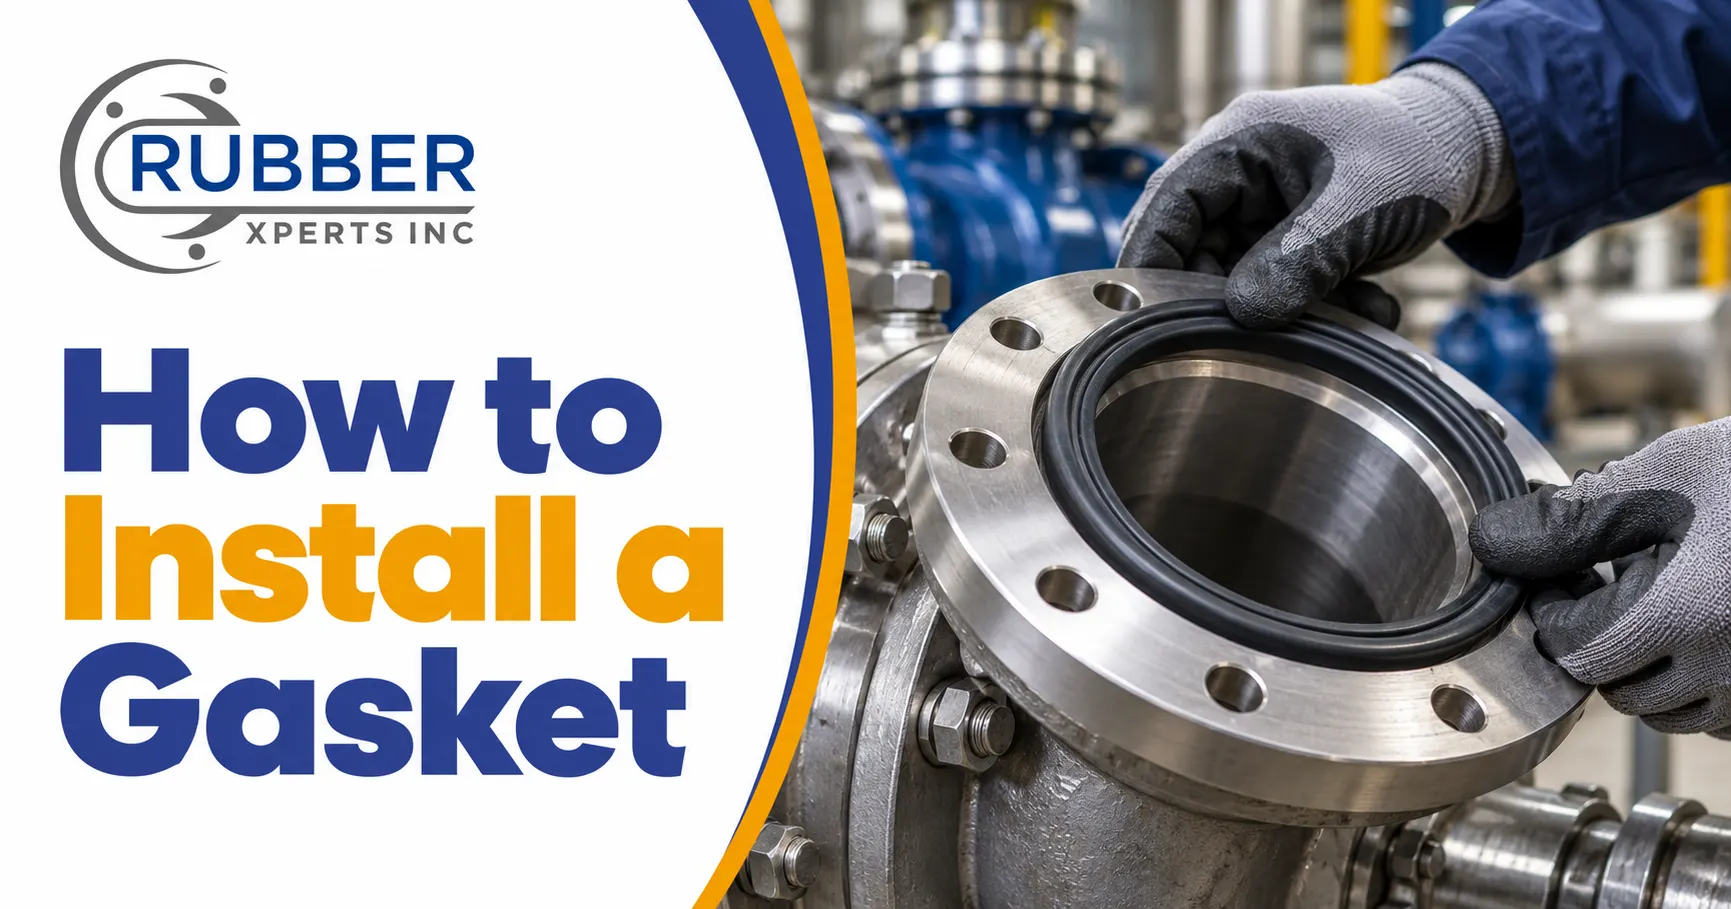
Correctly installing a gasket determines whether a selected gasket actually seals in service. Most premature gasket failures trace back to installation error, not material or design choice. The wrong torque, a skipped cleaning step, or a misaligned gasket can undo an otherwise perfect material selection. This guide covers surface prep, the step-by-step proper gasket installation process, torque technique, and the mistakes that cause the most leaks.
What Should You Do Before Installing a Gasket?
Surface prep and confirming you have the correct gasket size, orientation, and material come before any installation step. Neglecting either step quickly leads to reinstalling the same joint. The two prep sub-steps below cover cleaning the mating surfaces and confirming the gasket itself is right for the joint.
How Do You Prepare and Clean the Sealing Surfaces Before Installing a Gasket?
To prepare and clean the sealing surfaces before installing a gasket, follow the steps below.
- Remove all remnants of the old gasket and any gasket adhesive or sealant.
- Clean both mating surfaces with an appropriate solvent, free of oil, rust, or debris.
- Inspect the surfaces for scratches, warping, or pitting that could prevent a flat seal.
- Allow the surfaces to dry fully before positioning the gasket.
How Do You Confirm the Correct Gasket Size, Orientation, and Material Before Installation?
Confirm the gasket’s dimensions match the flange or joint bolt circle, inside and outside diameter, and thickness before you attempt to seat it. Also check for directional features like a sealant bead on one side or embossed markings, since installing a directional gasket backward can prevent it from sealing even though it looks correctly positioned. If you’re not confident the gasket you have is the right one for the joint, our guide onhow to choose the right gasket walks through matching material and dimensions to the application before you get to this step.
What Are the Step-by-Step Steps to Install a Gasket?
To install a gasket, follow the steps below.
- Clean and dry both mating surfaces.
- Position the gasket, confirming correct orientation and alignment with the bolt holes.
- Hand-thread the bolts to hold the gasket in place without pre-loading it unevenly.
- Tighten the bolts in the correct torque pattern, in stages, to the specified torque value.
- Recheck torque after an initial run-in period if the application calls for it.
How Do You Properly Torque and Tighten Bolts When Installing a Gasket?
Uneven or incorrect torque is one of the most common causes of leaks and premature gasket failure. Getting the torque pattern and staged tightening right matters as much as picking the correct material in the first place, since even a perfectly compatible gasket will leak if the clamping force across it isn’t even.
What Torque Pattern Should You Follow When Installing a Gasket?
Use a star or crisscross tightening pattern to distribute clamping force evenly across the gasket, working across the flange rather than around its perimeter. Tightening bolts in sequence around the flange in a single direction causes uneven compression, since the gasket seals fully on one side before the opposite side is even snug.
How Do You Avoid Over-Compressing or Under-Compressing a Gasket During Installation?
Follow the manufacturer’s specified torque value rather than tightening by feel, since guessing at torque is the most common way installers end up over- or under-compressing a gasket. Over-compression shows up as extrusion or cracking at the gasket’s edges, while under-compression shows up as leakage once the system is pressurized. If you want to confirm a gasket is performing correctly before committing to full installation, see our page ongasket testing for the checks worth running first.
How Do You Install Different Types of Gaskets?
Installation technique varies by gasket type and construction, even though the general prep and torque principles above apply broadly across all of them. The sections below cover the specifics for rope, flange, and die-cut or spliced-and-vulcanized gaskets.
How Do You Install a Rope Gasket?
To install a rope gasket, follow the steps below.
- Measure and cut the rope gasket to the required length, allowing for compression.
- Press the rope gasket into the groove or channel, keeping it seated evenly without stretching it.
- Butt or overlap the ends per the manufacturer’s guidance rather than leaving a gap.
How Do You Install a Flange Gasket?
To install a flange gasket, follow the steps below.
- Center the gasket on the flange face, aligning it with the bolt holes.
- Hand-tighten the bolts evenly before torquing.
- Torque the bolts in the star pattern described above in at least two to three passes.
Ourflange gaskets page covers configuration options if you’re still confirming which gasket fits your flange class.
How Do You Install a Die-Cut or Spliced and Vulcanized Gasket?
Die-cut gaskets are typically installed as a single pre-formed piece, so positioning and bolt alignment are the main considerations. Spliced or vulcanized gaskets may include a factory- or field-made joint, and that joint needs to be positioned away from high-stress points on the flange rather than left wherever it happens to land. See ourdie-cut gaskets and spliced & vulcanized gaskets pages for more on when to use each construction method.
What Common Mistakes Should You Avoid When Installing a Gasket?
The common mistakes you should avoid when installing a gasket are listed below.
- Reusing an old gasket instead of installing a new one: a gasket that’s already been compressed once rarely reseals reliably, even if it looks intact.
- Skipping surface cleaning and inspection: debris, old gasket material, or surface damage left in place will prevent an even seal no matter how good the new gasket is.
- Using sealant or adhesive not specified for the gasket material: an incompatible sealant can degrade the gasket material or interfere with its sealing surface.
- Tightening bolts in the wrong pattern or to the wrong torque: this is the single most common cause of uneven compression and early leaks.
- Forcing a gasket that doesn’t match the flange dimensions or orientation: a gasket that doesn’t fit cleanly should be swapped for the correct one, not forced into place.
How Do You Know When to Replace Instead of Reinstalling a Gasket?
There are clear signs a gasket should be replaced rather than reinstalled. A gasket showing compression set, cracking, or chemical degradation should always be replaced rather than reused, since those signs mean the material has already lost the properties it needs to reseal. Some materials and designs are rated for reuse under specific conditions, but that has to be confirmed against the manufacturer’s spec rather than assumed. Our page onwhether gaskets are reusable covers which situations actually support reuse.
What Are Gaskets Used For, and Does That Affect Installation?
A gasket’s core function is to seal the gap between two static surfaces, preventing gas or liquid from escaping the joint under pressure. The installation steps covered in this guide apply generally across static sealing applications, whether the joint is a pipe flange, an engine cover, or an equipment housing.
How Do You Replace a Gasket That Is Already Leaking?
To replace a gasket that is already leaking, follow the surface-prep and step-by-step installation sections above, with one added step: fully remove every trace of the old, failed gasket material before positioning the replacement. Leftover fragments of a failed gasket are one of the most common reasons a gasket replacement leaks again shortly after installation.
Do You Need Sealant or Adhesive to Install a Gasket?
No, most modern gaskets are designed to seal without additional sealant. Adding an incompatible sealant can sometimes hurt sealing performance instead of helping it, since the sealant can interfere with the gasket material’s own sealing surface or react poorly with the chemicals it’s meant to resist. Check the gasket manufacturer’s installation guidance before adding sealant rather than assuming it will help.